


Chrome: How to install self-signed SSL certificates

Often, during the development of a website on our local machine (localhost) or on our remote private server, we do not have an SSL certificate issued by a trusted certification authority, and we are forced to configure the webserver with a self-signed certificate.
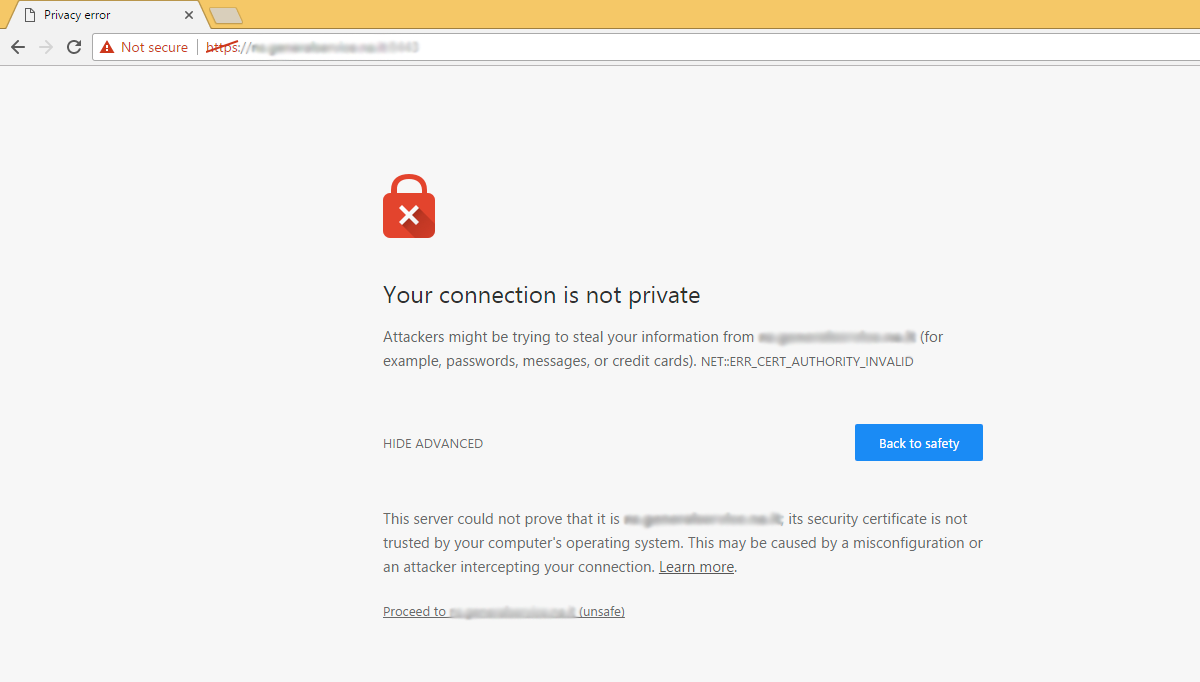
In this case, while browsers such as Firefox allow you to add an exception, even permanently, to the site in question, opening that website in Chrome will produce each time a notice of this type (NET::ERR_CERT_AUTHORITY_INVALID):

This warning, moreover, will imply that you won’t be able to save login data of your website, as Chrome does not save forms information for websites having an unsafe HTTPS connection.
To resolve this problem, you need to accomplish a very simple task: export the SSL certificate for the website in the appropriate format and install it as a trusted certificate.
To export the SSL certificate we’ll use Google Chrome.
Open Chrome and visit your website. You will get the above warning, click on “ADVANCED” and then on “Proceed to <domain name> (unsafe)”.
At this point, open Chrome Developer tools by hitting F12 key and go to “Security” tab.
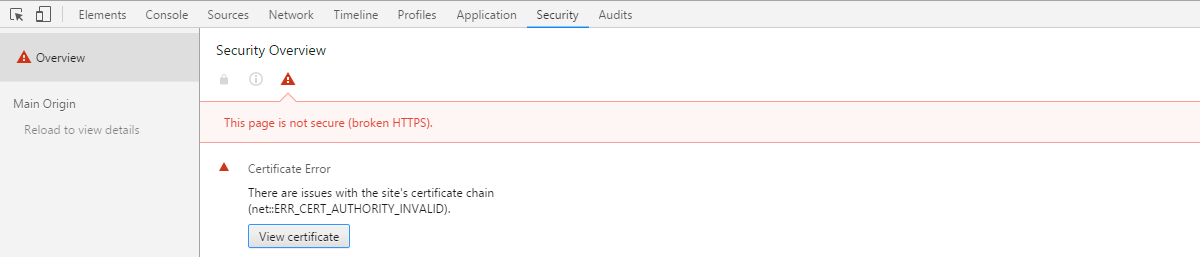
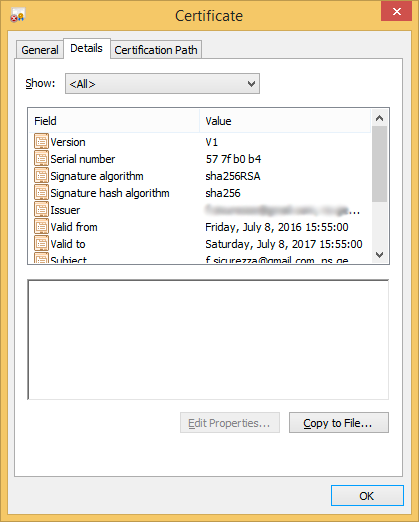
Click on “View certificate“, go to “Details” tab and click on “Copy to File…”.
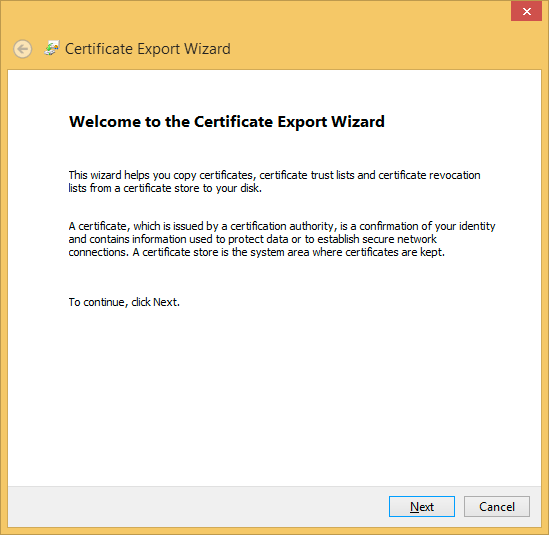
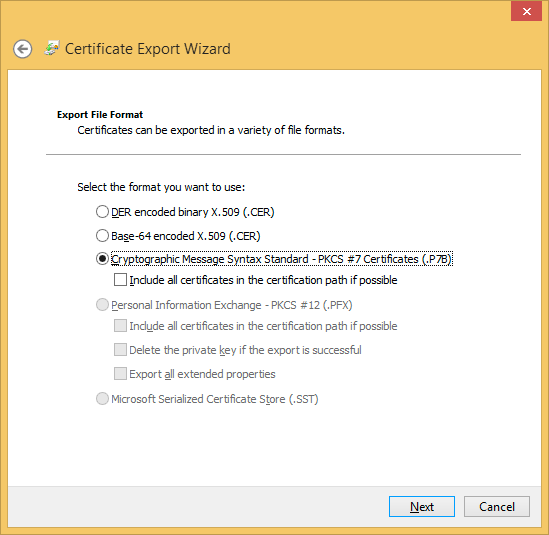
Hit “Next” and select “Cryptographic Message Syntax Standard – PKCS #7 Certificates (.P7B)“, then “Next” again.
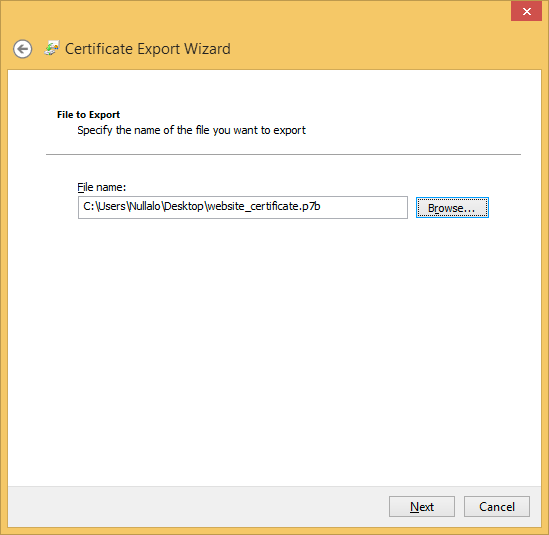
Click “Browse…” and save certificate to a location on your PC (ie: Desktop) by clicking “Next”.
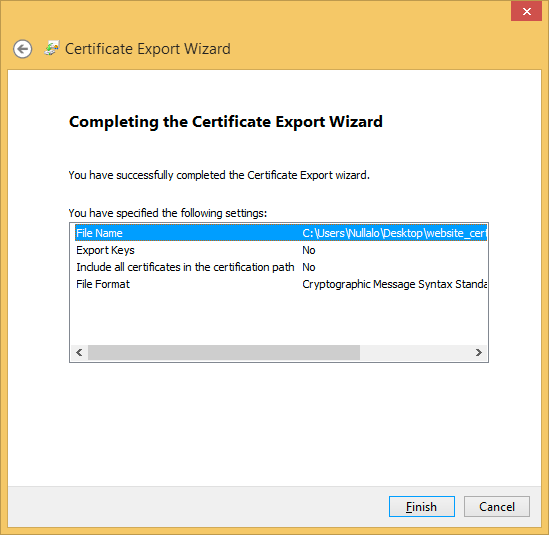
Finally, click “Finish”.

In the next page we’ll see how to import the certificate.


9 Comments
Thank you so much for this – very helpful!!
“Click on “View certificate“, go to “Details” tab and click on “Copy to File…”.”
– No such option on macOS
Hi Nathan,
for MacOS, after clicking “View certificate”, select the certificate (last node of the tree located in the upper part of the window) and simply drag the large certificate icon (the one to the left of “Issued by” and “Expires” words) and drop it to your desktop or in any Finder window.
After that, you can import the saved certificate by double-clicking it.
didnt work
Did you read this article as well?
Okay this works.
I wonder, if this worked because I used chrome setting to install the server certificate?
When I tried installing server certificate using MMC certificate snap-in chrome ignored it and kept on displaying certificate invalid.
Now that your way worked I’ve deleted the server certificate using MMC certificate snap-in chrome still opens up the site in GREEN color.
Chrome is definately storing some information on its own storage just don’t know where that is…
Once the procedure in this article is followed, will the site security show as green for all visitors?
Hi Ben, since we’re talking about LOCAL development it will show as green just for you.
For a public website, you need a trusted authority certificate (e.g., you could use a Let’s Encrypt certificate), issued for your website’s domain (e.g. mywebsite.com).
Hello… I have the same problem. I followed your instructions and the procedure is done smoothly but sad to say it did not work. I still getting an error message and still in red lock on my https.